Rocky Mountain Outfit — American Mountain Men (AMM) party of Colorado
One Way To Debone An Elk
"Those who worry about how they are going to get their elk out, don't get elk"
On any good hunt, eventually, the little hairs on the back of my neck will start to rise and I'll think to myself "how the heck am I going to get an elk out of here". To me, this is where and when elk hunting starts. If I'm not at least a little concerned about how the heck I'm going to get out of an area with my meat, I'm not in a good location to get meat.
One of the questions we are frequently asked is how we get our meat out of the woods without the use of a pack animal. At one time my idea on this was to field dress, quarter out the animal, and then start to carry it all out. Since I started hunting with Nathan, not only has my hunting and knowledge of animals greatly improved, but how I get an animal out of the woods is vastly different. I no longer really even worry about how I'm going to get my animal out of the woods. It's going to happen, and although my back is going to be tired, it won't be broke.
There are many different ways to debone an animal in the field, but this is the way we like to do it.
Step 1: Shoot an Elk
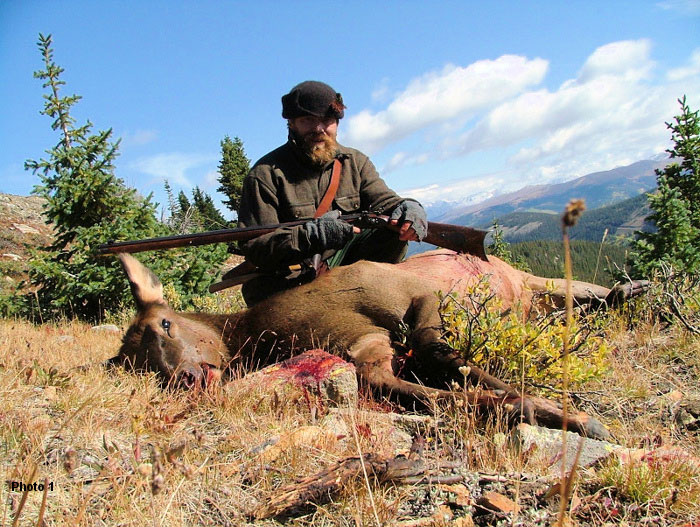
Nathan with his nice cow shot just at timberline at around 9:30 AM. He uses a TVM, .54 caliber Leman, with 100 grains of 2f Goex under a patch lubed with a 2:1 combination of elk tallow and marmot oil and a .530 roundball.
Step 2: Remove head and make initial cuts
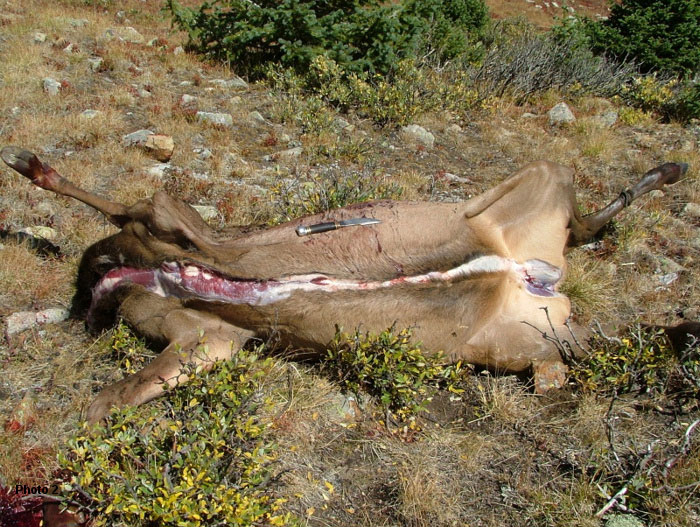
Remove the head and skin up the belly, being careful to only cut under the skin.
We like to carry a couple of small forged stakes and some string in our packs to stake out the hind legs. This really simplifies things, especially when you are by yourself.
Step 3: Continue skinning one side at a time and then remove quarters
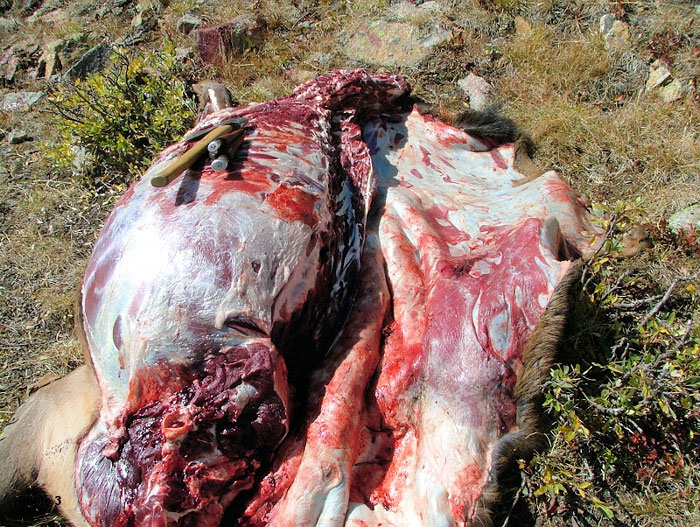
Continue to skin around both the hind and front quarters on one side of the animal. Then skin up the side to the backbone.
Remove both the hind and front quarters and cut the meat off both. Remove the back strap. Then turn the animal over and do the same for the other side. If you're not sure where to cut, just look for natural places within in the meat. This is a bit difficult to explain in writing, but just look at the meat and you'll see that the different sections and muscles will have a natural separation line to cut through.
Step 4: Remove gut pile
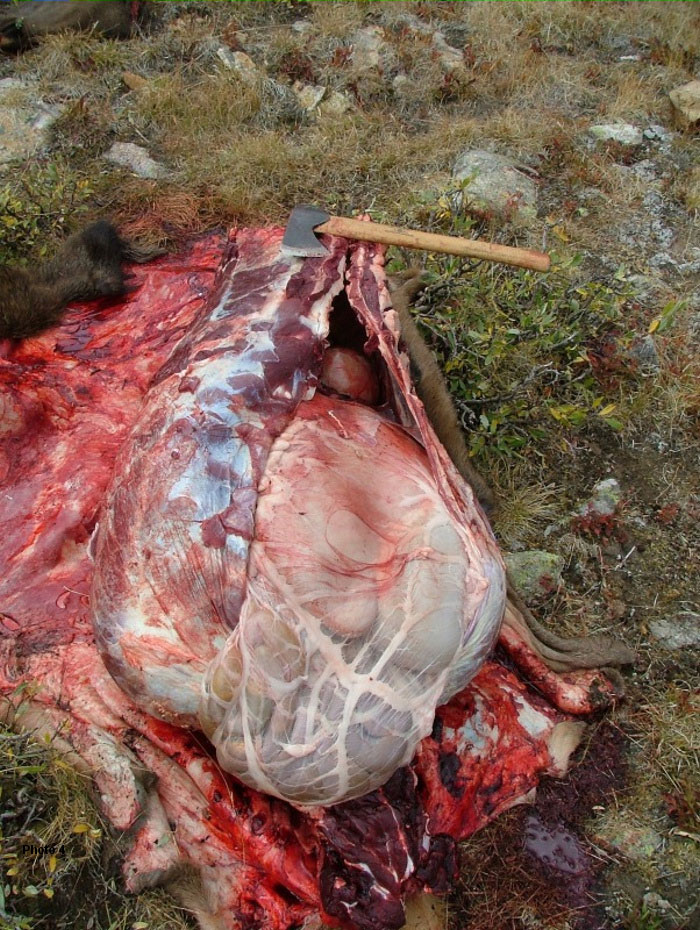
At this point you can cut up through the brisket with your hand ax. By carefully reaching in behind the guts gently remove the gut sack without breaking anything open. You can then easily remove the tenderloins once the gut sack has been moved out of the way. Don't hack away with the ax; just push it up through the brisket in a controlled fashion. You can use the ax in the same controlled manner to cut through the pelvis area if you need to.
Step 5: Remove rib meat
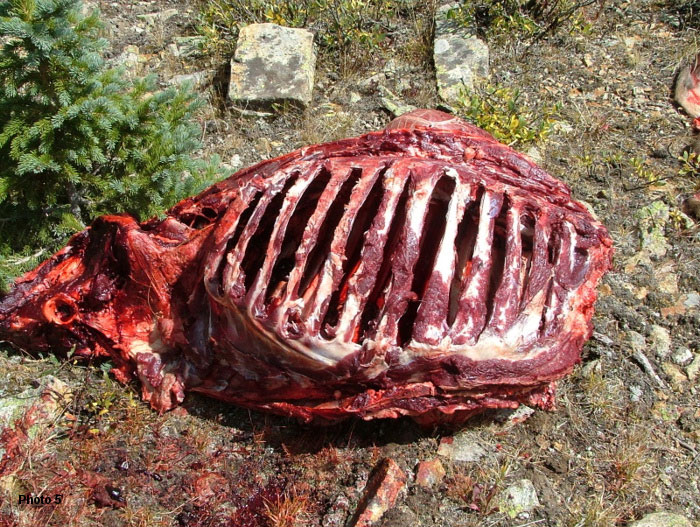
Cut between to ribs and remove the rib meat.
Step 6: Continue deboning meat
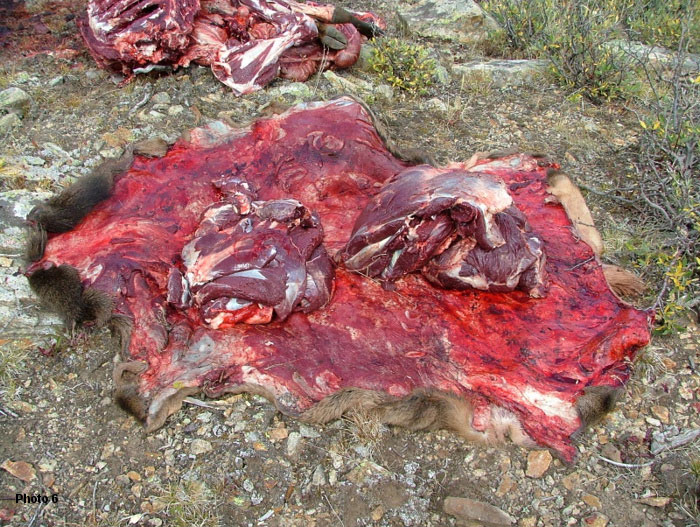
As you move through the process use the animal's skin to lay out all your deboned meat. This keeps it off the ground and nice and clean.
Step 7: Pack it out

Finally it's time to start hiking out with your meat. Our first trip typically starts with just the back straps and tenderloins. We wrap the rest of the meet up in the animal's skin for protection until the next trip and do our best to get it in the shade. Once we get back to the vehicle we'll cache the gun, shooting bag, &c., and grab a pack frame for the next trip. A nice size cow including the hide can typically be carried out by one person in three or four trips.